
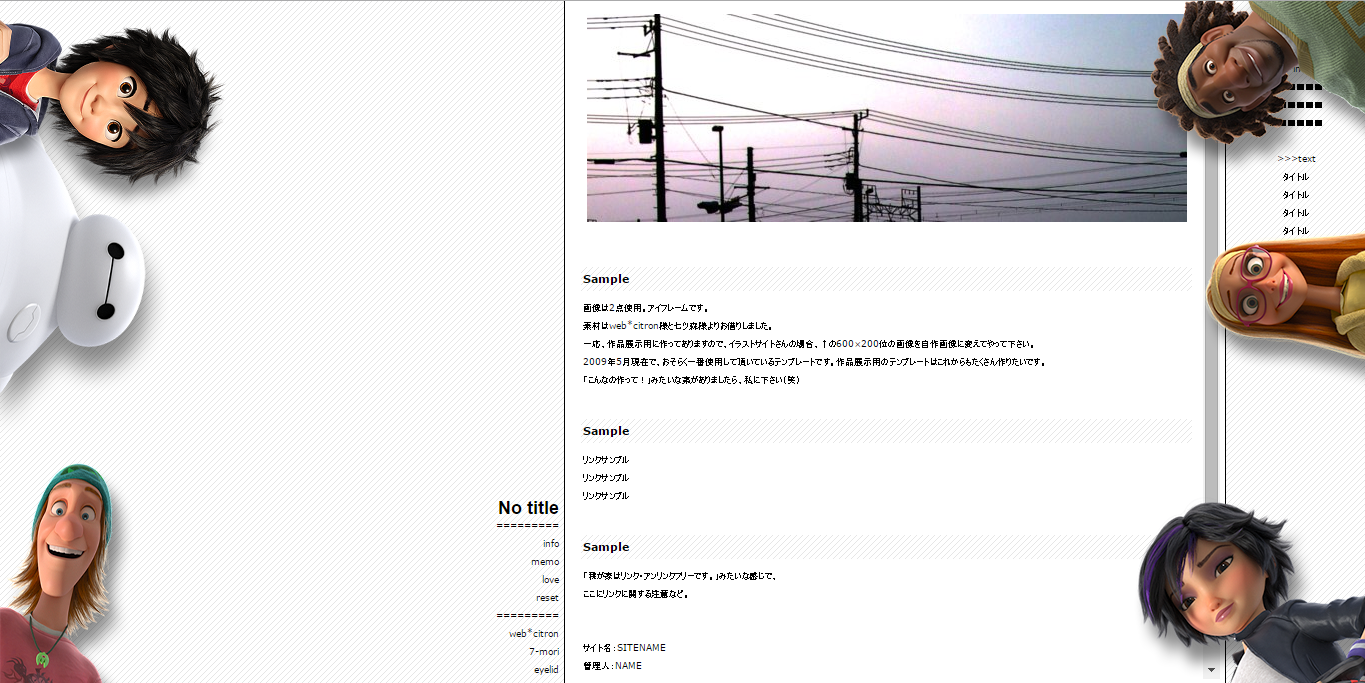
I finally did it! Using the Big Hero 6 corner Bilder at link's childrens website, I was able to replicate the way the way the characters often looked in trailers, looking down together. Now, I made the code so Du can put it on your own website oder tumblr blog. It's pretty simple, here's how Du do it!
----------------------------------------------------------Step one!----------------------------------------------------------
First off, go get the Bilder link, and download them to your website oder blogs files, if Du can. If you're using Tumblr, tumblr lets Du Upload blog assets link (don't Upload files you're not using, though). If Du don't have the option to download them to whatever site you're using them on, Upload them to a photobucket oder imgur, oder just use the link on the ones I already have there.

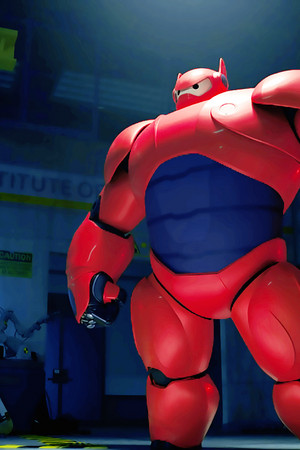
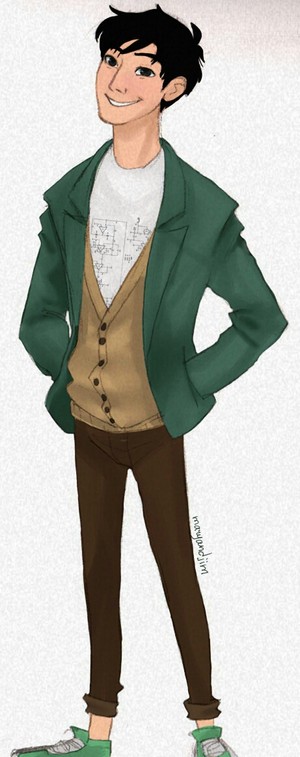
There should be six files of course, one of each character. The files should stay named as they are like "bh6_[characternamehere]", unless Du know how to change the code to account for it.
----------------------------------------------------------Step two!------------------------------------------------------------
Next, go to your <style> tags:

Paste the following code in between them:
p.baymax {
position: fixed;
top: 50px;
left: 0px;
}
p.hiro {
position: fixed;
top: -20px;
left: 0px;
}
p.honey {
position: fixed;
top: 200px;
right: 0px;
}
p.gogo {
position: fixed;
bottom: -20px;
right: 0px;
}
p.fred {
position: fixed;
bottom: -20px;
left: 0px;
}
p.wasabi {
position: fixed;
top: -20px;
right: 0px;
}
-----------------------------------------------------------Step three!------------------------------------------------------------
Now, go to your <body> tags:

And paste this code:
<p class="baymax"><img src="bh6_baymax.png"></p>
<p class="hiro"><img src="bh6_hiro.png"></p>
<p class="honey"><img src="bh6_honey.png"></p>
<p class="gogo"><img src="bh6_gogo.png"></p>
<p class="wasabi"><img src="bh6_wasabi.png"></p>
<p class="fred"><img src="bh6_fred.png"></p>
Important: If you're using them on tumblr oder any other site that doesn't use your own server, then replace each "bh6_[characternamehere].png" with the link that goes with each one.
So you'd change this:

To this:

------------------------------------------------------------Are we done?!----------------------------------------------------------
After all that mess, your site/blog should eventually look like this!

If Du don't like how one is in the way, use the "bottom/left/right/top" codes, and tweak the numbers. You'll figure out how they move. If Du don't want someone there, simple Löschen their code in the <style> and <body> Tags and they won't be there. But it's no fun without the whole team :)
I've never written a guide before, and quite frankly I'm just not good at explaining things in general. So if Du have questions, please ask here! I prefer Du ask here instead of message, so that way people with the same Frage can get the answer without asking me again.
I also should have different ones up soon (with different characters and images), and I'll be revising this often until it works.
Thanks for listening!
----------------------------------------------------------Step one!----------------------------------------------------------
First off, go get the Bilder link, and download them to your website oder blogs files, if Du can. If you're using Tumblr, tumblr lets Du Upload blog assets link (don't Upload files you're not using, though). If Du don't have the option to download them to whatever site you're using them on, Upload them to a photobucket oder imgur, oder just use the link on the ones I already have there.

If Du absolutely must use mine, then click on the little gear on the corner of each and download the full resolution.
There should be six files of course, one of each character. The files should stay named as they are like "bh6_[characternamehere]", unless Du know how to change the code to account for it.
----------------------------------------------------------Step two!------------------------------------------------------------
Next, go to your <style> tags:

It should be one of the first Tags in your codes.
Paste the following code in between them:
p.baymax {
position: fixed;
top: 50px;
left: 0px;
}
p.hiro {
position: fixed;
top: -20px;
left: 0px;
}
p.honey {
position: fixed;
top: 200px;
right: 0px;
}
p.gogo {
position: fixed;
bottom: -20px;
right: 0px;
}
p.fred {
position: fixed;
bottom: -20px;
left: 0px;
}
p.wasabi {
position: fixed;
top: -20px;
right: 0px;
}
-----------------------------------------------------------Step three!------------------------------------------------------------
Now, go to your <body> tags:

There of course usually will be stuff already in this area, because this is where all your content goes.
And paste this code:
<p class="baymax"><img src="bh6_baymax.png"></p>
<p class="hiro"><img src="bh6_hiro.png"></p>
<p class="honey"><img src="bh6_honey.png"></p>
<p class="gogo"><img src="bh6_gogo.png"></p>
<p class="wasabi"><img src="bh6_wasabi.png"></p>
<p class="fred"><img src="bh6_fred.png"></p>
Important: If you're using them on tumblr oder any other site that doesn't use your own server, then replace each "bh6_[characternamehere].png" with the link that goes with each one.
So you'd change this:

To this:

Because that link takes Du to the Baymax image.
------------------------------------------------------------Are we done?!----------------------------------------------------------
After all that mess, your site/blog should eventually look like this!
If Du don't like how one is in the way, use the "bottom/left/right/top" codes, and tweak the numbers. You'll figure out how they move. If Du don't want someone there, simple Löschen their code in the <style> and <body> Tags and they won't be there. But it's no fun without the whole team :)
I've never written a guide before, and quite frankly I'm just not good at explaining things in general. So if Du have questions, please ask here! I prefer Du ask here instead of message, so that way people with the same Frage can get the answer without asking me again.
I also should have different ones up soon (with different characters and images), and I'll be revising this often until it works.
Thanks for listening!